
Sam of Sugar Spun Run calls these The WORST Chocolate Chip Cookies, and she may be right. They're so moist, delicious and probably the best cookies I've ever had, that they do indeed qualify for the name as a result of how much they'll consume your life. I've enjoyed baking them twice since coming across the recipe about a month ago, and the people I've shared them with have equally agreed these were fantastic.
Now, you could head over to Sam's site and get the recipe directly from her, I'm sure she'd be happy to have you do so. However, if you want to stick around, I'll go ahead and reiterate it here with the pictures I took while making my second batch.
Still here? Okay.
First and foremost, you're going to need some ingredients:
- 1 Cup Unsalted Butter (Melted)
- 1 1/2 Cups Brown Sugar (Packed)
- 1/2 Cup Sugar
- 2 Large Eggs (Room Temperature)
- 1 Teaspoon Vanilla
- 1/4 Cup Maple Syrup
- 3 1/4 Cup Flour
- 2 Teaspoons Corn Starch
- 1 Teaspoon Baking Powder
- 1 Teaspoon Baking Soda
- 1 Teaspoon Salt
- 2 Cups Chocolate Chips
- 1 - 22 Minute Standard Length Cartoon
With those couple disclaimers out of the way, let's jump into the full directions and photos.
Step 1: Prep the "Chips"
Technically, step one would be to take two eggs, and leave them on your counter to get to room temperature. In my first batch of cookies I did this. In my second, I didn't bother. There was no noticeable difference to me. Considering your dough is going to go into the fridge for thirty minutes, I don't see this as necessary, as they're going to get cold anyway.
Since I didn't use chocolate chips, I had to put a little work into mine by way of cutting them into chip size pieces. To achieve this, I first froze my candy so that I could get solid chunks, vs. mush from cutting them at room temperature.

Simply line them all up, and run a knife through them vertically and horizontally, to roughly shop them. Regardless of the candy you use, if it's not chunks, you're going to need to do this.

While the recipe calls for two cups, I went with a portion that was equal to a standard cereal bowl filled to the top. I like mix ins in my cookies.

Once chopped and in the bowl, return them to the freezer. You're not going to want them to start melting on you.

Step 2: The Wet Ingredients

While it melts, get your maple syrup, vanilla, brown sugar and white sugar measured out. As step savers, I put my brown and white sugar together in the same bowl, and then add the vanilla to my measuring cup of maple syrup. If you do this, obviously add the vanilla to the measuring cup after you've measured out your maple syrup.

With your butter all melted, it's time to make some magic.
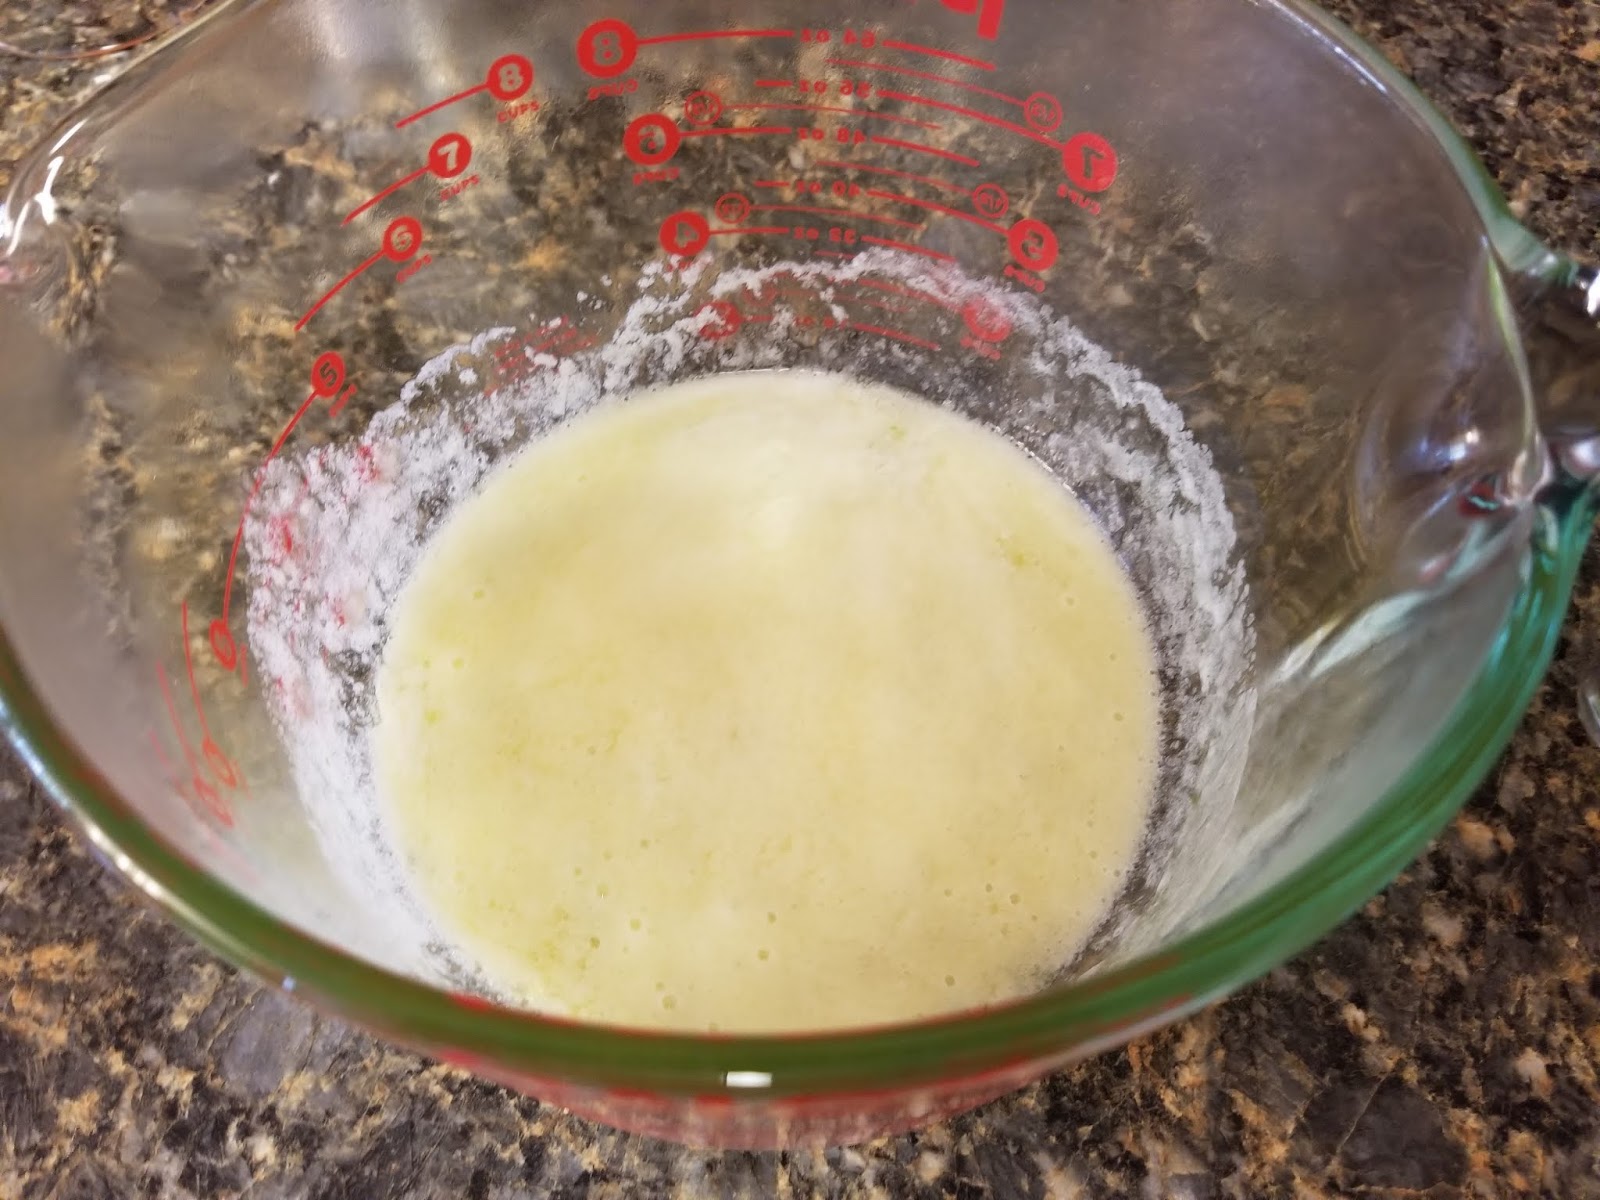
Dump your sugars into the butter.

Now vigorously whisk them together until they're combined.

It should look pretty thick, like a dark caramel.

Now add your maple syrup and vanilla.

Once again, whisk it together. It should turn out a bit smoother from how you started.

Now add one egg and whisk it in as well.

Once it is fully mixed in, add your second egg, and once again whisk it.

You should end up with a fairly wet / runny mixture when done.

Step 3: The Dry Ingredients
If I'm being honest, I actually prepare and measure all my ingredients prior to starting. I recommend you do so if you're OCD about following step by step instructions without pausing to essentially start over. Further, I put them all into a metal colander with a handle.

Sam's recipe does not call for sifting, but I will tell you, as someone who bakes often, there is benefit to doing this. As such, I'm going to tell you for my next step to take your flour, salt, baking soda, baking powder and corn starch, and sift them into a large bowl.

If you're using a metal colander, just keep gently tapping the edge of it to sift it all through. Look at the picture above, and you can clearly see the difference between dry ingredients thrown together, vs. lightly sifted together.

Keep tapping the edge until all of your dry ingredients strain through. The end result is a fluffy mixture of powder, like light snow on the ground. This airy lightness is going to benefit you too. This will not only evenly distribute your dry ingredients together, but will also make mixing the wet ingredients into them easier.

Step 4: Wet Meets Dry
Make a small well in your dry ingredients and slowly pour in half of your liquid mixture.

Use a rubber spatula to gently fold the ingredients together. Don't whisk. Don't stir. Fold.

When it's relatively incorporated, it will still be mostly flour and crumbly, pour in the remainder of your wet mixture.

Once again, fold the ingredients together.

Make sure to scrape the sides of your bowl, and well as, get all the way down to the bottom. You want all the dry and wet mixture to marry and become one.

DISCLAIMER: If you have a solid wooden handled rubber spatula, you may want to consider using this, vs. a plastic handled one. As the mixture binds together, it gets very stiff and may result in your spatula handle snapping in half. Ask me how I know.

Finishing off with a solid wooden handled rubber spatula, you'll eventually have a combined mixture that has the thickness and consistency of peanut butter.

Now add half of your chocolate chips or chopped candy of choice.

It's going to get more solid as you continue, but keep folding everything in as best you can.

Add the remaining chocolate or candy, and keep folding.

Your mixture should be rather firm, but still wet and soft enough to be squashed about. Don't do that though. Instead, put it in the fridge for thirty minutes and start the waiting game. While it sits, you can preheat your oven to three hundred fifty degrees.

Step 5: Wait
What does one do for thirty minutes? It's not enough time to get involved in anything large, or short enough time to wander far. Here's how I passed the time.

First, I cleaned up the dishes I used. Twenty-six minutes left.

Then I set out my baking pans, cooling racks and spatula. Twenty-four minutes left.

Then I put on a cartoon episode of Disney's Adventures Of The Gummi Bears. You can choose any cartoon episode of your liking. However, don't be tempted to push that button to skip the intro. You're gonna want to sit through that full twenty-two minutes. Two minutes left.
Step 6: Balls and Bake
With two minutes left, I made my way back to the kitchen and got ready for baking.

Take your dough out of the fridge and start making balls. Sam recommends two to two and a half tablespoons of dough for each cookie. This is where I once again differ from her recipe. I'm not in to dinky cookies that I have to eat two or three to feel happy. I'm a one large cookie and done kind of guy.

My balls are about two to three inches in diameter. Ba-bam! Look at that beast!

Because of their size, you're only going to get about six of these on a tray at a time, and since this recipe makes between eighteen and twenty-four in that size, I'm in the kitchen baking for quite some time. Not only will they take longer to bake, but due to the size, they're in smaller batches too. With Sam's sizes, you could probably get about three to six more cookies on each sheet.
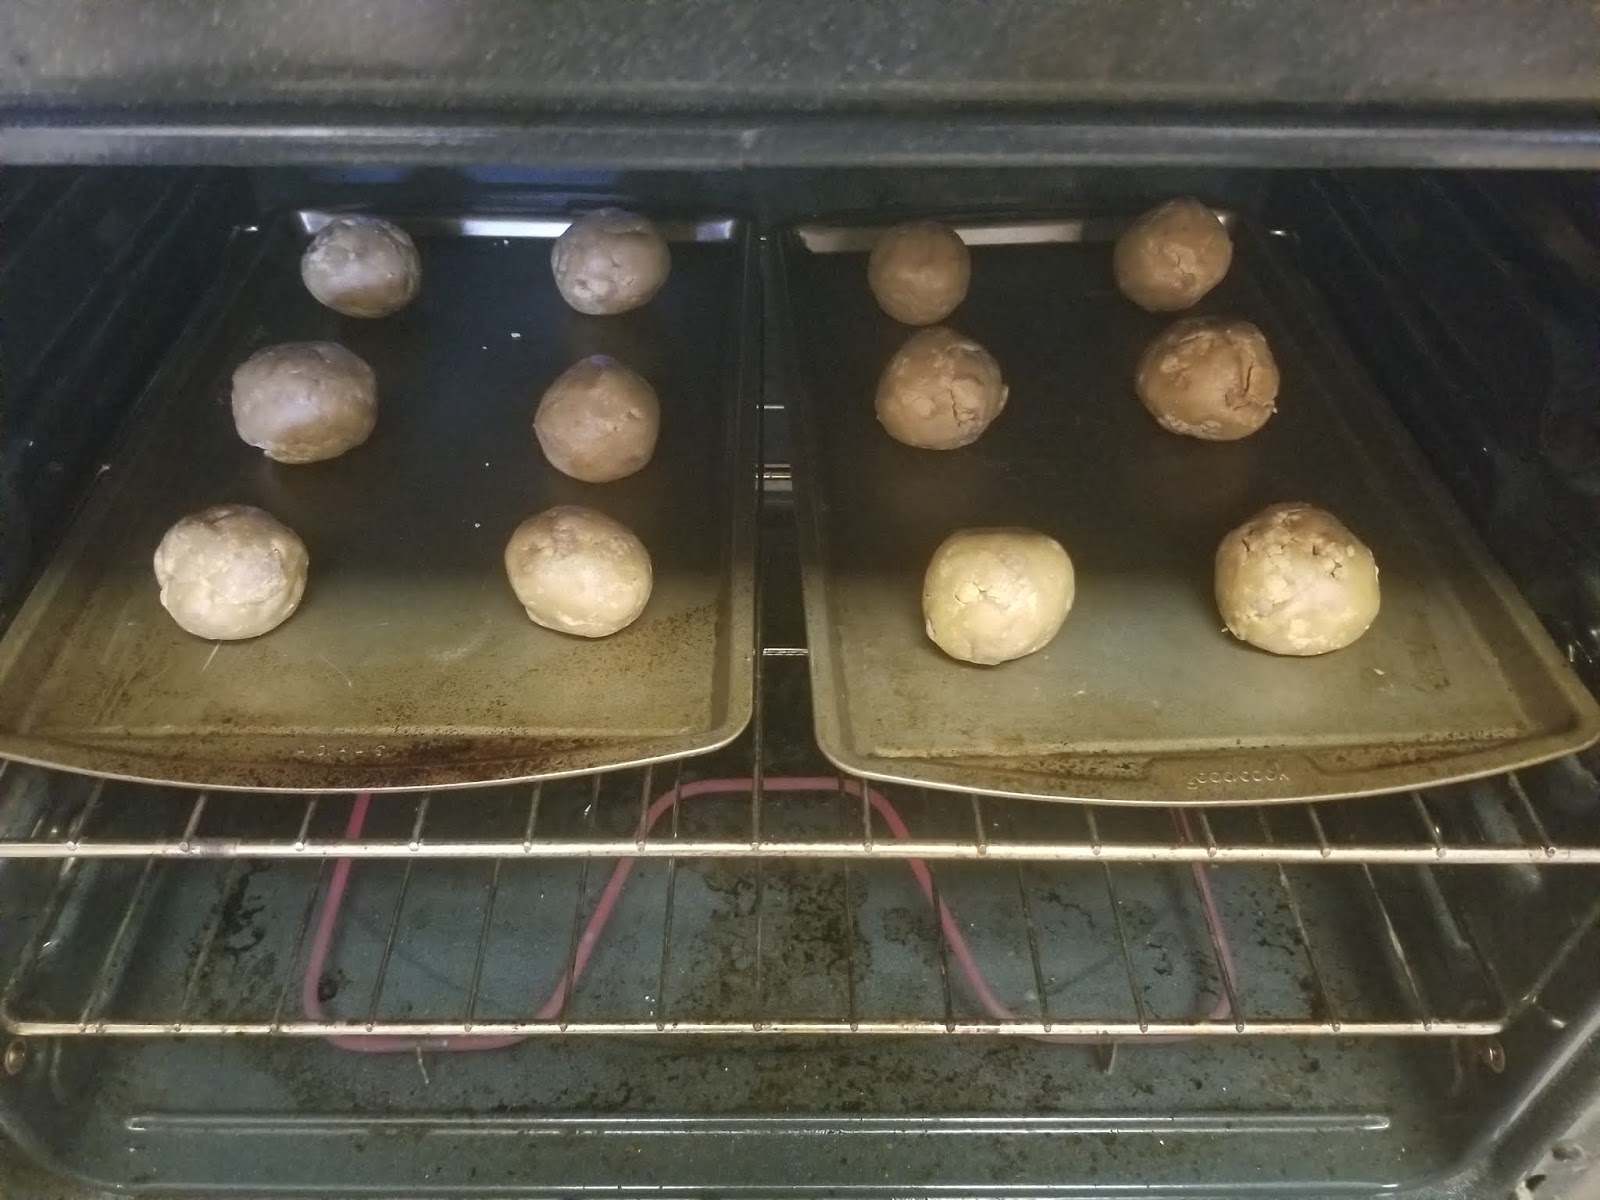
However you do it, small or large balls, put the trays in the oven, again, that's at a preheated three hundred fifty degree temperature.

If making Sam's recommended sizes, she denotes they should take about thirteen minutes. If you're making my manly big ones, that's going to take anywhere from eighteen to twenty, possibly longer, possibly shorter, depending on your oven. Regardless of the size, you'll know they're done when you get that nice golden brown starting around the edges.

Put the baking sheets on a cooling rack and let them sit for about two minutes. There's a few reasons for this. One, it will allow them to cool slightly, which will firm them up a bit. This is key, because if you remove them immediately, you'll most likely end up with deformed / warped cookies because they'll smash into themselves from being to hot / gooey. Two, it will brown the bottoms a bit more, and three let the pans cool down for the next round. You don't want to put cold dough on a hot pan.

After two minutes, move the cookies to the actual rack with a spatula. You want to gently get underneath them and then in one switch motion get the spatula fully underneath. If you tiptoe around this process, sliding here, wedging there, you'll not only potentially break your cookies, but also misshapen them.

Let them cool for about ten minutes, and continue making your cookies. By the time one batch is done cooking, your prior batch should be coming off of the cooling rack. They may still be a little warm, and that's okay.

Transfer them to an airtight storage container. They'll be good for at least a full week or two. I can tell you that from the first cookie to the last, making it about a week and a half until they were gone, each one was as moist and chewy as the next, regardless of how many days passed. In fact, when they sat overnight the first day, they were far better than fresh from the oven, at least to me.
But, there you have it. Sam's Worst Chocolate Chip Cookies, tweaked by me. If you've got the time and ingredients, give them a try. They're worth it. I dare say you'll never suffice for any ordinary store bought chocolate chip cookie in the future. Not even "fresh" from their bakery. I haven't. I can't. I won't.
Click "HERE" to go back to the home page. For more posts related to this one, please click the labels below.
No comments:
Post a Comment