
In these tough times of an impending recession, when you see an eight pound pork loin at the grocery store for under ten dollars, you buy it.
There are tons of pros to buying large cuts of meat like this, be it beef, pork, or other. The two biggest, in my opinion, are the overall cost savings, and versatility. A whole tenderloin of any of these can be made into relatively endless varieties of meals, and depending on the amount of people your feeding could be utilized for anywhere from one to twelve (or more) meals.
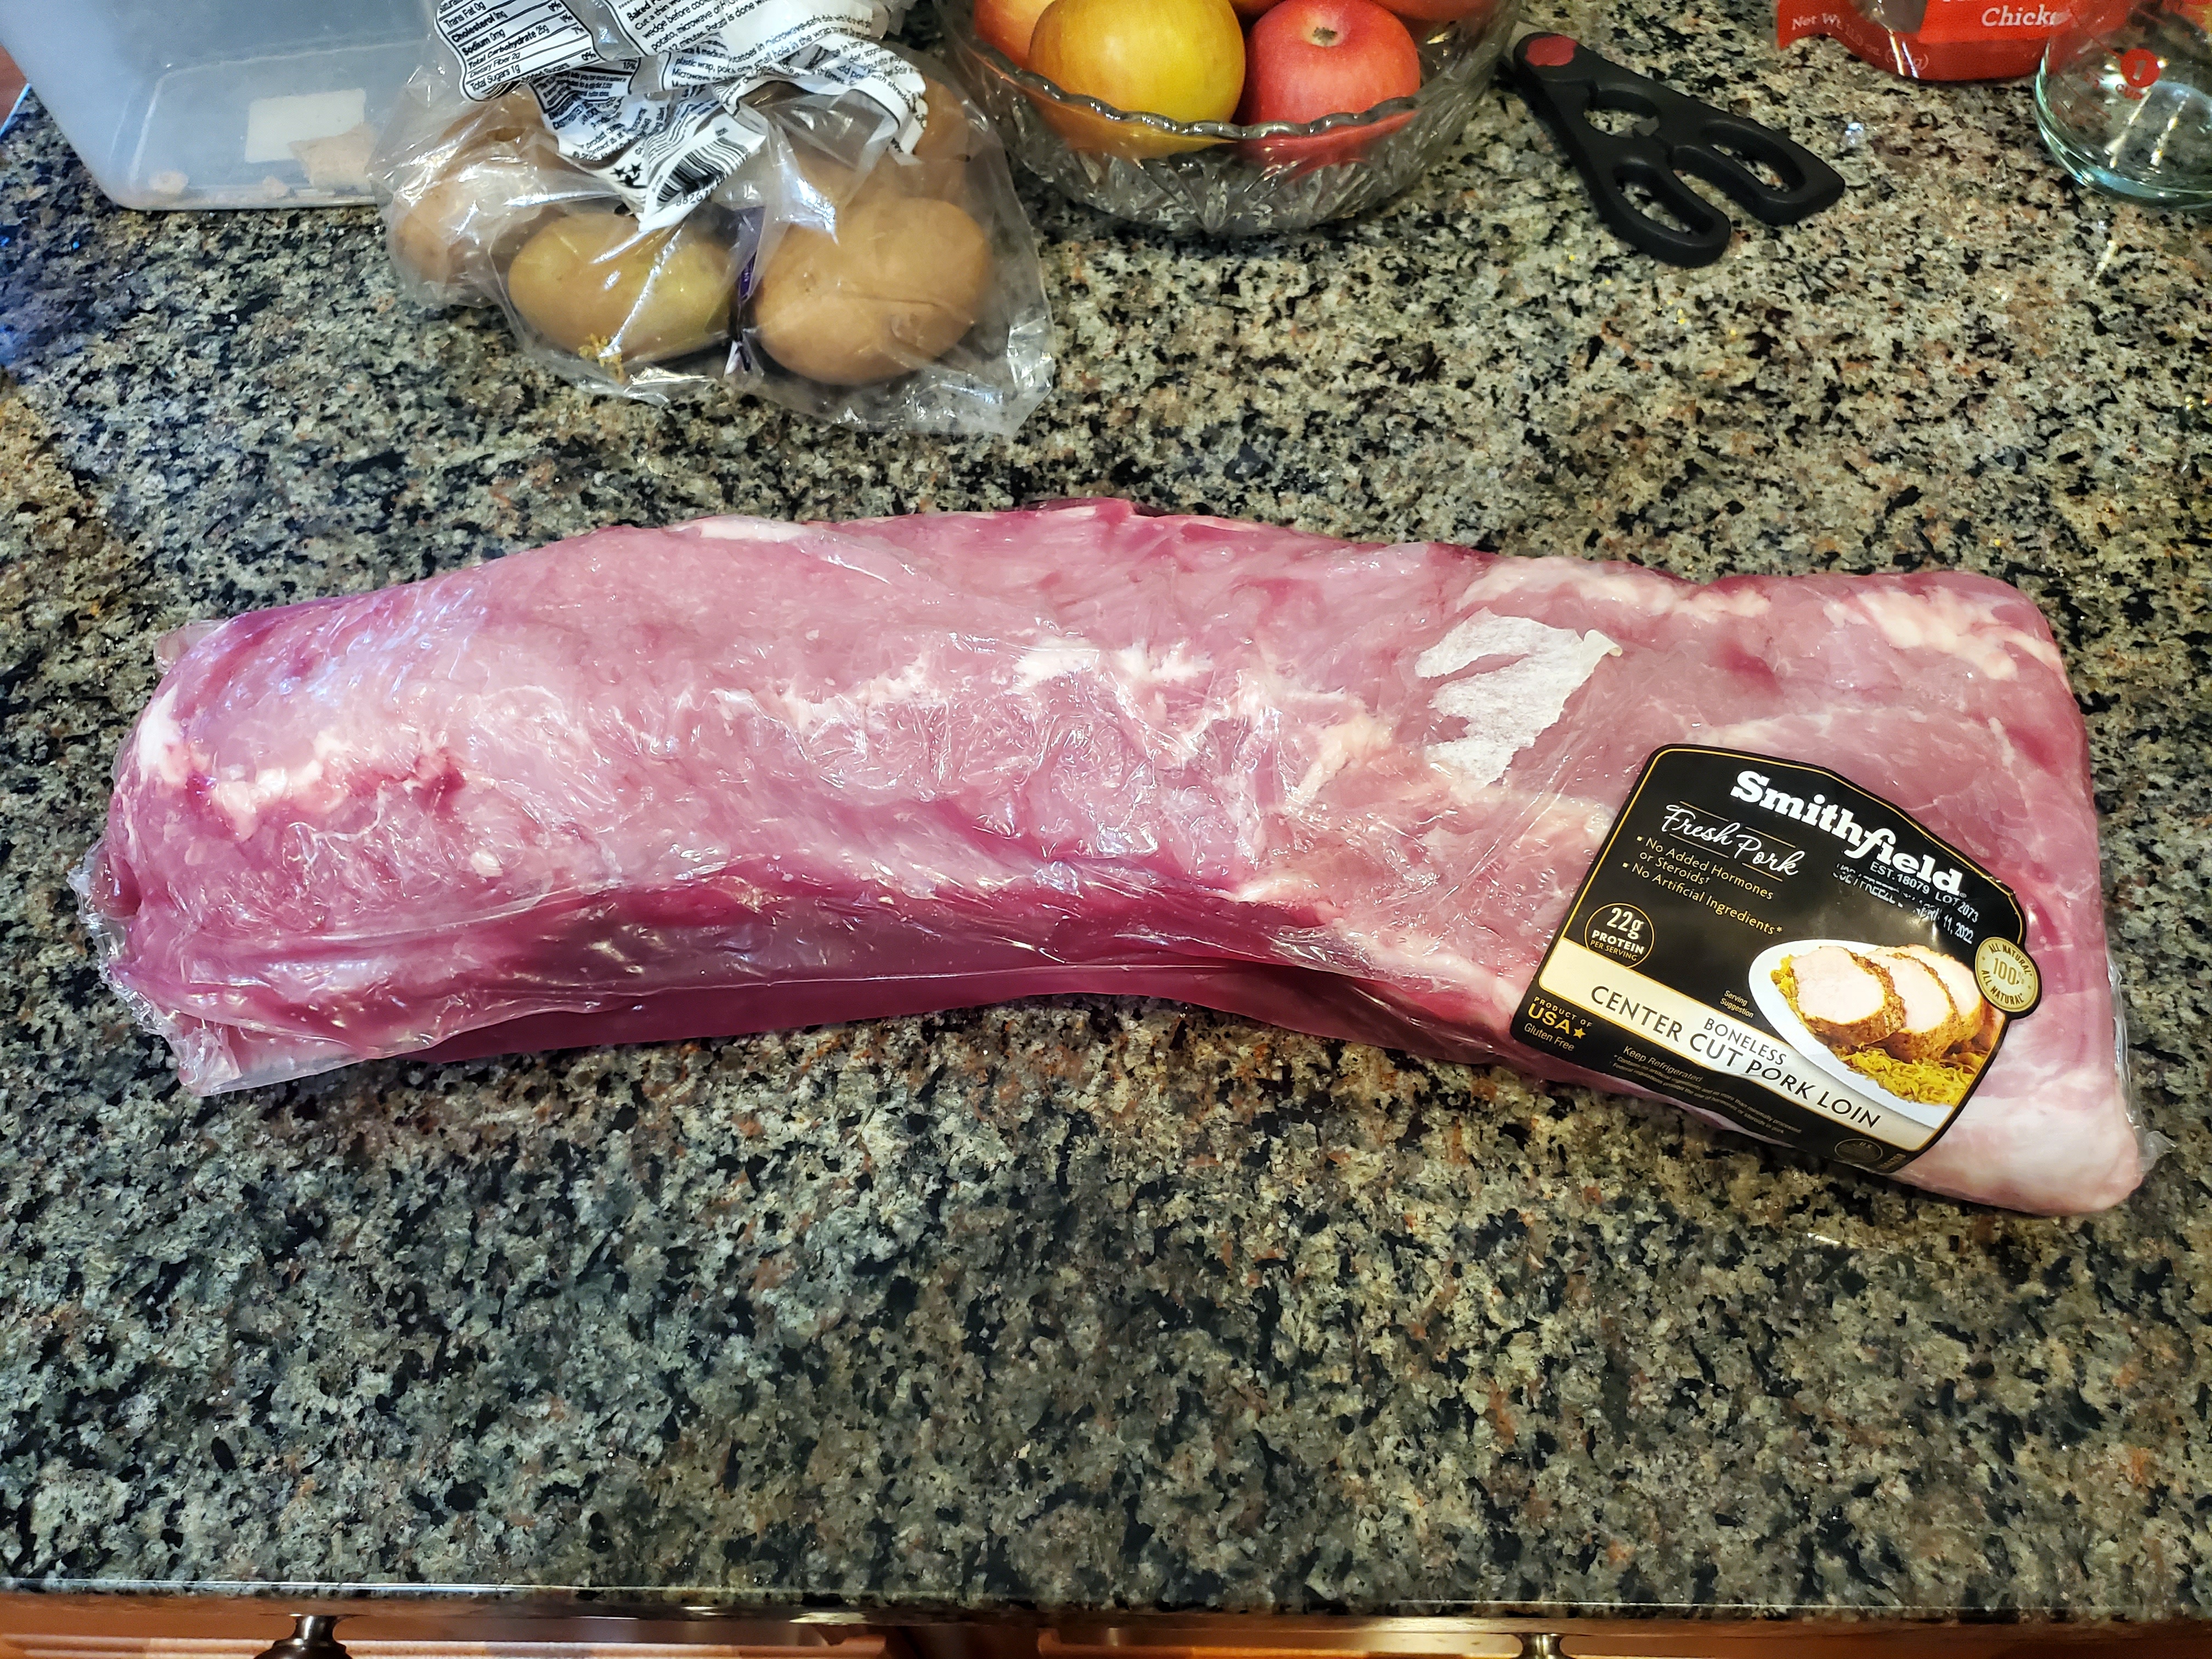
Let's first look at the aesthetics of a pork loin, and discuss why it's typically readily available, and for so little. Let's address the latter first. The bottom of the pork loin is where butchers remove the ribs from, and as we know, baby back or spareribs are highly popular among the barbecue going crowd. This creates a high demand for ribs, and an abundance of loins as a result.
Personally, when buying my loins, I look for the label to tell me if it's poked or natural. Such is the case with this one, which states it's 100% natural with no added hormones, steroids, or other artificial ingredients. This is important.
Poked loins have been altered by way of the butcher adding salt, or other additives, to keep the meat tender. These not only alter the taste, but add to the weight of the meat, which you end up paying for. Natural, means none of this has occurred, and that's my preference. Don't mess with my food.

The sirloin end of the cut is on the left side of the image to the right, and as you work your way to the other end, that's where you hit the blade end. To make this easier to describe, mentally section this piece in four equal parts.
The sirloin, which is the first quarter (again, on the left), would make an excellent roast, carnitas, or pulled pork. This is also fantastic on the grill, steak style.
The center loin is your next section, and this is where you would be able to cut off some nice thick or thin pork chops, as well as have yet another tasty section for a roast. Additionally, you can cut extra thick chops, slice a pocket in the side, and stuff these with various ingredients.
The center rib is the third section, and this is followed by the blade end. I mention these two together, because they can be used in conjunction to make a larger roast, essentially butterflying it in the center, folding it over, and tying it together with butcher string to make a thick circular roast.
The center rib is also great for pinwheel roasts, where you essentially slice it really thin to roll it out, and stuff it with whatever ingredients you like, rolling it back up to roast.
Focusing strictly on the blade end, this is where you would cut off sections to make some country style boneless ribs. Thinner slices would also allow you to pound out some nice thin pork cutlets for schnitzel, or frying in general. Slicing it in little strips for a stir fry or fried rice is also ideal.
However, don't start hacking away at it just yet. The cut, as a whole, could also be roasted or slow cooked to feed large gatherings for relatively cheap. This would make for an excellent barbecue, pulled pork style, or a fantastic seasoned roast for the holidays.
With all that in mind, you hopefully have some ideas of what you can do with this slab. If you weren't interested in cooking the whole thing, your best option would be to determine potential meals, slice it up, and then freeze the sections.

To get things going, I've got to get that bad boy out of the package, "washed" off, and dried. It's a pretty self explanatory process.
I selected the shoulder for my pulled pork. With the extra fat, this will give it some good rendering, a nice juicy texture, and caramelize nicely under the broiler in the final stages.
The center section is going to be a somewhat lean roast for my girl. She's been having some stomach issues these past couple months, so she's trying to keep things light, and relatively bland.
I'm going to use the blade end for my stroganoff, as it has a nice tender section of meat, which will simmer up nicely, and absorb all of that flavor.

Starting with the roast, I'm hitting it with a simple one to one ratio of salt and pepper. Again, I'm keeping this bland for the tummy impaired. However, if this were any other day, I'd probably brush it with something, such as a horseradish, or a lemon Dijon sauce. Just something to crust around it, and give it that extra punch of flavor.

This bowl is 1/2 a teaspoon of salt, and half a teaspoon of pepper. I'm going to use it to generously sprinkle the entire cut of meat, reserving the last quarter.

Then, I'm slicing up five potatoes into quarters, and giving them a drizzle of olive oil.

To finish it off, I'm placing the potatoes around the roast in a dish, and sprinkling the remaining salt and pepper on them to give them just a hint of seasoning. I'm then hitting the potatoes with a sprinkling of parsley.

This is going to go into a 250° oven, and depending on your cut size, will determine the length of cooking. Essentially it's not about the time, but the temperature, which you want to be 145° internally. For me, that was right around the three hour mark.

Once it hits that, I remove it from the oven, and let it rest.
I'll remove the meat from the pan closer to dinner time, and roast up the potatoes more at a higher temp to give them a bit more color and exterior texture. Through the magic of time travel, BA-BAM!

That's good eatin' for someone on a bland diet. For me, I could use some brown gravy on all of it to tie the whole meal together. Thrown in a slice of bread to mop it all up.
Next up is my barbecue pulled pork.

I need to make my rub, and for this, I need the following:
2 Tablespoons Onion Powder
2 Tablespoons Garlic Powder
4 Tablespoons Brown Sugar
1 Teaspoon Cumin
1 Teaspoon Salt
2 Teaspoons Chili Powder
2 Teaspoons Paprika (smoked works best, but regular will do)
1/4 Teaspoon Black Pepper
While the above would be an ideal amount for a full rack of ribs, or this entire tenderloin, since I've cut it up into slices, I only need a fourth of this. As such, I've actually quartered the recipe for today.

There's a reason it's called a "rub". I'm not just sprinkling this on. Rather, I'm heaping it on, and using my hands to massage it into the entire cut, on all sides. Then I'm going to wrap it in foil, stick it in a shallow pan, and throw it in the oven with the roast above at 250°. This is going to stay in the oven for five hours to get it all nice and fork tender.
Once it is, I'm going to kick the temp up to High Broil, and give the top of the meat a little brushed kiss of barbecue sauce. Then I'm gonna let it get all sticky under the broiler for ten to fifteen minutes.

Now this thing needs to rest for ten to fifteen minutes before being shredded. I don't want to do this any sooner because I don't want the juices to all run out. Speaking of those juices, cooking this will result in quite a bit of it. This can either be poured out, or even poured over the shredded meat to add more moisture. It's your choice.

You could add barbecue sauce to this now, and give it a good stir to incorporate it all together. However, I prefer to let people do this themselves so that they get the right amount of sauce to meat that they prefer. This will make great sandwiches. I only wish I had some coleslaw to top it with.

That's the kind of party I want to be invited to!

My final dish is that pork stroganoff, which mind you, has been cooking the same time as all of the above.

To get this dish going, I need some stir fry style bits.

To accomplish this, I'm slicing thin chops, which I'm then going to cube.

I'm then hitting my electric skillet with a generous coat of oil, and letting that heat up on 350°. To which I'm going to add the meat.

This will get tossed around in the oil, cooking it to remove most of the pink color to it. I'm also going to hit it with some pepper. This dish will get plenty of sodium from alternative sources very soon, so there's no reason to add any salt to it.

What you do want to add is come delicious mushrooms. Any kind will do. You just want to ensure they're thin sliced, which you can either buy as such, or do yourself. Get them in the pan, and give them a good stir.
Now you're going to need some stuff.
2 Cans of Beef Broth (14 Ounces Each)
2 Tablespoons Dijon Mustard
2 Tablespoons Worcestershire Sauce
1/2 Cup Heavy Whipping Cream
1/2 Cup Milk (2% or More, No Skim)
1 Tablespoon Onion Powder
1/2 Tablespoon Cayenne Pepper (Optional)

Add your beef broth, Dijon, and Worcestershire Sauce, and stir it all together. Then add your onion powder and cayenne.

Give it another stir, and then add your cream and milk. One final stir, and it's time to pop your lid on the skillet, and reduce the temperature to 100°. Alternatively, use a crock pot on the lowest setting, and incorporate all your ingredients above, except the oil.

Let that go for two and a half hours (a minimum of four if using a crock pot), and then add your noodles, giving them a good stir to submerge them as much as possible. Cover it again with your lid.

Leave it alone for another twenty minutes, and then check to see if the noodles are to your desired tenderness. If not, let it go longer, checking every few minutes.

The remaining liquid will get absorbed into your noodles, leaving you with a hearty meal that's good for any day of the week.

You know what's up. Get you some, and get to digging in!

Click "HERE" to go back to the home page. For more posts related to this one, please click the labels below.
No comments:
Post a Comment